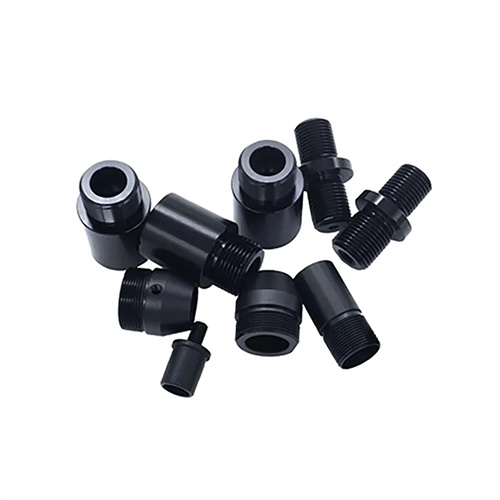
Injection mold drawing
The drawing of an injection mold is the final presentation of the mold design process and the core technical document guiding mold manufacturing, assembly, and inspection. Its standardization and accuracy directly determine the mold’s production quality and efficiency. A complete set of injection mold drawings, including 2D engineering drawings and 3D models, must clearly express the mold’s overall structure, the shapes and dimensions of each component, the fitting relationships, and technical requirements, while also considering the feasibility and cost-effectiveness of the manufacturing process. National mechanical drawing standards (such as GB/T 4457-2002) and industry specifications must be followed during the drawing process to ensure the drawings are universal and readable, allowing technicians from different departments to accurately understand the design intent.
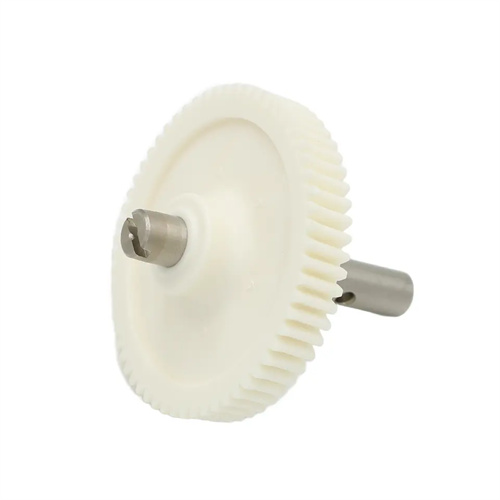
2D engineering drawings must include both assembly and component drawings. These drawings complement each other and together form the technical basis for mold manufacturing. Assembly drawings should be drawn at a 1:1 or 1:2 scale, clearly showing the assembly relationships of key components such as the movable mold, fixed mold, ejector mechanism, and guide mechanism. Important parameters such as mold closing height, maximum opening distance, and installation dimensions should be noted, for example, “Closing height 350 ± 0.1 mm” and “Mounting hole spacing 200 × 200 mm.” A detailed list should also be used to list the name, quantity, material, and standard number of all parts. For standard parts (such as guide pins and ejector pins), the specification and model number should be clearly stated (e.g., “Guide pin GB/T 4169.4-2006 Φ20 × 100”). Part drawings must be drawn for each non-standard part, including sufficient views (main view, top view, sectional view, partial magnification, etc.), and complete dimensions, tolerances, surface roughness and heat treatment requirements must be marked. For example, cavity parts must be marked with “dimensional tolerance IT5”, “surface roughness Ra0.02μm”, and “quenching hardness HRC50-52”.
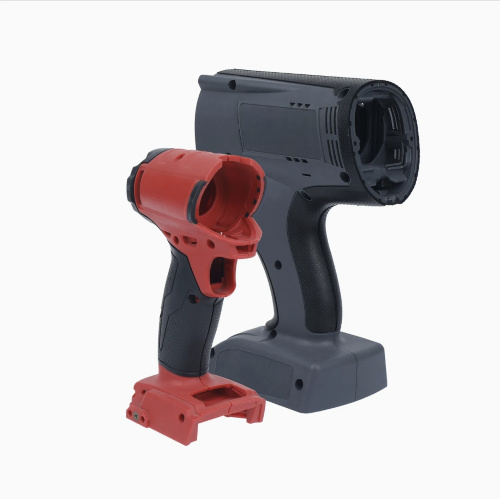
The drawing of three-dimensional models is a crucial step in modern mold design. It is intuitive and easy to check for interference, and is typically performed using 3D software such as UG and SolidWorks. Modeling requires constructing the model layer by layer according to the mold’s assembly relationship. Core components such as the cavity and core are first established, followed by the addition of auxiliary components such as the guide mechanism, ejector mechanism, and cooling system, ensuring the accuracy of each component’s spatial position. Three-dimensional models require Boolean operations and interference checks, such as checking for overlap between the ejector pin and the core, and for a reasonable clearance between the guide pin and the guide sleeve (usually 0.005-0.01mm), to avoid structural interference that could prevent the mold from being assembled. Furthermore, three-dimensional models can generate two-dimensional engineering drawings, ensuring consistency between the two through an associative update function. When the three-dimensional model is modified, the dimensions and views of the two-dimensional drawings are automatically updated, reducing human error.
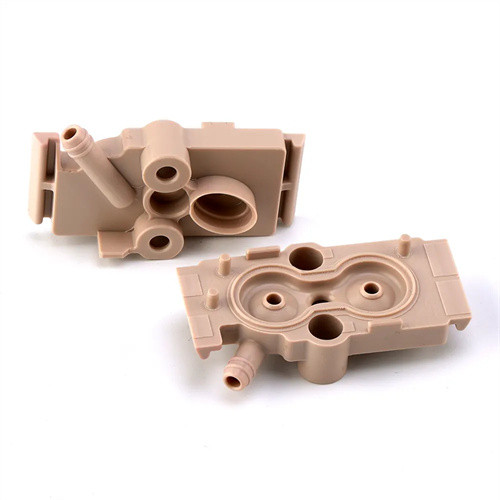
The technical requirements of the mold drawing are an important part of supplementing the drawing information. The mold’s performance indicators, manufacturing accuracy, and usage specifications must be clearly marked. Performance indicators include parallelism during mold closing (≤0.02mm/m), fit of the parting surface (clearance ≤0.01mm), and smooth movement of the ejector mechanism (no sticking). Manufacturing accuracy requirements cover part processing methods (e.g., “cavity processed using electrospark forming” and “guide pins processed using grinding”) and testing standards (e.g., “dimensional accuracy tested using a three-dimensional coordinate measuring machine”). Usage specifications include mold preheating temperature (e.g., “preheat to 50°C for first use”) and maximum injection pressure (e.g., “not to exceed 180MPa”). Technical requirements must be concise and clear, avoiding ambiguity, to ensure accurate implementation by manufacturing and user personnel.
Drawings for molds with special structures require a targeted approach to accommodate complex structures. For molds with side core pulls and inclined ejectors, the assembly drawings should use dashed or double-dash lines to indicate the extreme positions of the core pull mechanism, along with the core pull distance (e.g., “Side core pull stroke 30mm”) and drive method (e.g., “Hydraulic cylinder drive”). For hot runner molds, a separate hot runner system diagram should be drawn, noting parameters such as the hot nozzle model, heating power, and temperature control zone (e.g., “Hot nozzle model H13-Φ8,” “Heating power 200W per nozzle”). For stacked molds, cross-sectional views should be used to illustrate the arrangement of the cavities and the distribution of the gating system, with the inter-layer spacing and ejection stroke for each layer noted. Furthermore, for molds requiring modification after trial production, allowances for modification should be provided on the drawings (e.g., “0.5mm grinding allowance for cavity sidewalls”), and the modification principles should be clearly stated in the technical requirements to facilitate subsequent optimization.
