Injection parting surface positioning
Injection molding parting surface positioning is a critical step in mold design. Its role is to ensure accurate alignment between the movable and fixed molds during mold closing, guaranteeing the dimensional accuracy of the cavity and the quality of the molded part. Inadequate parting surface positioning accuracy can lead to defects such as flash, dimensional deviations, and surface misalignment in the molded part. It can even cause damage to the mold cavity and core due to collision. Therefore, it is necessary to adopt a scientific and rational positioning method and structure to ensure that the positioning accuracy meets the design requirements. Common parting surface positioning methods include guide pin and sleeve positioning, locating pin positioning, taper positioning, and clamping clip positioning. Guide pin and sleeve positioning is the most basic and commonly used method. Guide pin and sleeve positioning achieves positioning through the precise fit of guide pins installed in the fixed mold and guide sleeves installed in the movable mold. The clearance between the guide pins and guide sleeves is generally 0.01-0.03mm, ensuring the relative position accuracy of the movable and fixed molds. Guide pins are typically placed at the four corners of the mold. Large molds may also require auxiliary guide pins in the center to improve positioning stability. Guide pin and guide sleeve positioning is suitable for most molds, especially for small and medium-sized molds and plastic parts with general precision requirements. However, its positioning accuracy is limited by the fit clearance. For high-precision molds, it must be used in conjunction with other positioning methods.
Dowel pin positioning is a high-precision parting surface positioning method suitable for molds requiring high positioning accuracy, such as precision gear molds and optical lens molds. Dowel pins are manufactured from high-strength alloy tool steel (such as Cr12MoV). After quenching, they achieve a hardness of HRC58-62 and a surface roughness of Ra ≤ 0.1μm. They are precision-fitted to the positioning holes using H7/g6, with a clearance of 0.002-0.008mm. Dowel pins typically have a diameter of 10-20mm and a length of 1.5-2 times their diameter. Two to four sets are typically arranged symmetrically in the mold, used in conjunction with guide pins and sleeves to further improve positioning accuracy. Dowel pin positioning offers the advantage of high positioning accuracy, allowing parting surface misalignment to be controlled within 0.005mm. However, this method carries a high processing cost, and the coaxiality of the dowel pins and holes must be ensured during installation.
Conical surface positioning is suitable for large molds or molds that need to withstand large lateral forces, such as automobile bumper molds and large household appliance housing molds. The conical surface positioning structure consists of a conical boss on the fixed mold and a conical pit on the movable mold. The cone angle is generally 10°-30°, with a larger angle for small molds and a smaller angle for large molds. The fitting clearance of the cone is 0.01-0.02mm. When closing the mold, high-precision positioning is achieved through the guidance and self-locking effect of the cone. At the same time, it can withstand large lateral forces and prevent the mold from shifting under the action of injection pressure. The contact area of the cone positioning needs to be large enough, and the cone height is usually not less than 15mm to ensure sufficient positioning force and bearing capacity. For large molds, multiple cone positioning mechanisms can be set around and in the middle of the parting surface to evenly distribute the lateral force and improve positioning reliability.
Locking buckle positioning (also known as draw hook positioning) is an auxiliary positioning method, primarily used to control the parting sequence of the parting surface, while also providing a certain degree of positioning. The locking buckle consists of a locking hook fixed to the fixed mold and a locking seat on the movable mold. During mold opening, the locking hook and the locking seat engage to prevent the parting surface from opening prematurely. When the mold opening force reaches the set value, the locking hook disengages, and the parting surface opens according to the preset sequence. The locking buckle positioning has low accuracy, generally only controlling the misalignment of the parting surface to within 0.05mm. It is usually used in conjunction with guide pin and guide sleeve positioning and is suitable for molds that require step-by-step parting, such as two-color molds and molds with core pulling mechanisms. The locking buckle must be made of high-strength spring steel, which, after heat treatment, has good elasticity and wear resistance to ensure reliable operation during frequent mold opening and closing.
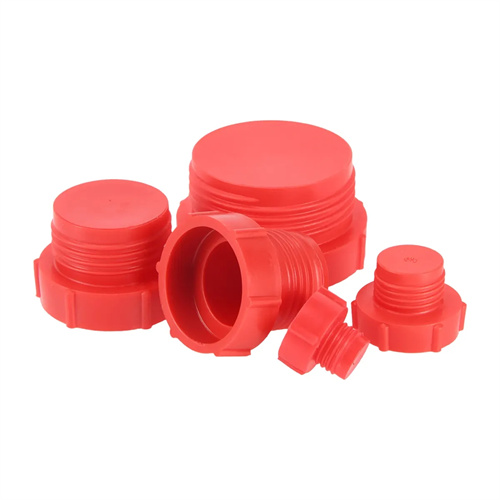
The design of parting surface positioning requires comprehensive consideration of factors such as mold structure, plastic part precision requirements, and production batch size. For high-precision plastic parts (dimensional tolerance IT5-IT7), a composite positioning method of guide pins, guide sleeves, and locating pins is required to ensure a positioning accuracy of ≤0.01mm. For large plastic parts, tapered surface positioning is required to improve the ability to resist lateral forces. For step-parting molds, locking buckles are required to control the parting sequence. The positioning mechanism must be arranged symmetrically and evenly to avoid deformation caused by uneven distribution of positioning force. For example, the positioning mechanism of a circular mold should be evenly distributed along the circumference, while a rectangular mold should be arranged diagonally symmetrically. In addition, parting surface positioning also requires consideration of the mold’s machining and assembly process. The machining accuracy of the positioning parts must be higher than the overall accuracy level of the mold. During assembly, processes such as grinding and lapping must be used to ensure that the fitting clearance of the positioning mechanism meets the design requirements.
During production, the wear of the parting surface positioning mechanism must be regularly inspected. If the clearance between the guide pin and sleeve increases to 1.5 times the initial value, they must be replaced promptly. If the wear on the positioning pin and taper exceeds 0.01mm, they must be repaired or replaced. Before daily production, the parting surface and positioning mechanism must be cleaned of plastic debris, oil, and other debris to prevent any impact on positioning accuracy. By selecting the appropriate positioning method, optimizing the positioning structure design, and ensuring adequate maintenance, the long-term stability of the parting surface positioning accuracy can be ensured, safeguarding the quality of the plastic product and the life of the mold.
