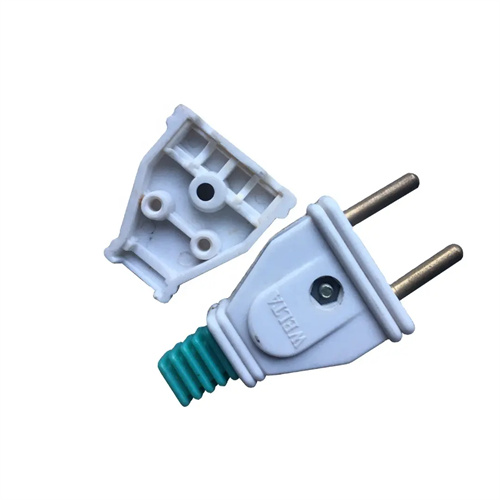
Calculation method of general molding dimensions for injection molding
Calculating general injection molding dimensions is fundamental to ensuring product precision. Factors such as the plastic’s shrinkage, mold manufacturing tolerances, and the product’s operating environment must be comprehensively considered, adhering to the basic principle of “average shrinkage + tolerance allocation.” First, determining shrinkage is central to dimensional calculation. Shrinkage varies significantly among different plastics, and even for the same plastic, shrinkage can vary depending on the grade and molding process parameters. Calculations should refer to the shrinkage range provided by the plastic supplier (e.g., PP shrinkage is 1.5%-2.5% and ABS shrinkage is 0.3%-0.8%), and average values based on actual production experience should be used. For example, for a PP part with a design dimension of 100mm and an average shrinkage of 2%, the mold size should be enlarged to 100 × (1 + 2%) = 102mm to offset post-molding shrinkage.
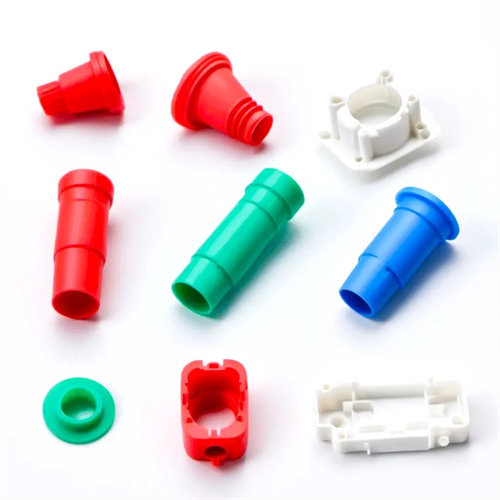
The calculation of linear dimensions depends on whether the product’s fundamental dimension is a hole or a shaft, and different calculation methods are used. For external dimensions (shafts), mold size = product’s maximum limit dimension × (1 + average shrinkage rate); for internal dimensions (holes), mold size = product’s minimum limit dimension × (1 + average shrinkage rate). This is because shaft dimensions shrink after shrinkage, so the mold must be larger to ensure the product does not shrink below the minimum limit. Holes also shrink after shrinkage, so the mold must be enlarged to the product’s minimum hole size to ensure the hole does not shrink below the designed size. For example, if a part has a φ10mm hole (tolerance + 0.1/-0) and the PP material has an average shrinkage rate of 2%, the mold hole size is 10 × (1 + 2%) = 10.2mm. The mold tolerance is 1/3-1/5 of the product tolerance, or ±0.02mm, to ensure the product dimensions are within the specified range.
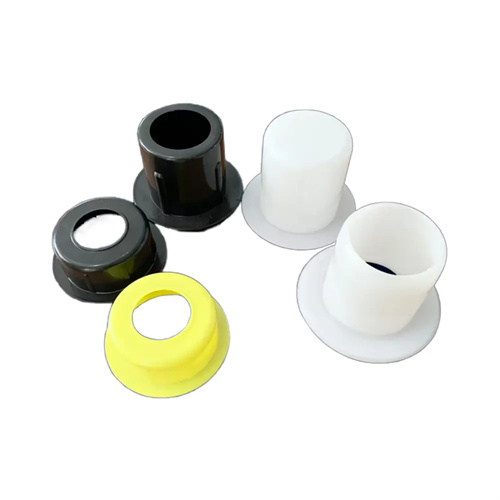
The allocation of mold dimension tolerances must balance mold manufacturing precision and product performance requirements. The principle of “mold tolerance should be smaller than product tolerance” is generally followed, with mold tolerances typically set at 1/3-1/5 of the product tolerance. For example, if the product dimension tolerance is ±0.1mm, the mold dimension tolerance can be ±0.03mm. This ensures that the finished product will meet acceptable standards even with certain mold errors. For dimensions with matching requirements, the tolerance band must be determined based on the nature of the fit. For example, for a transition fit between a shaft and a hole, the mold dimensions for both shaft and hole must be calculated separately to ensure assembly clearances are within the designed range. Furthermore, mold wear must be considered. For molds used in long-term production, the dimensions of areas susceptible to wear (such as the core and cavity) should be appropriately enlarged to allow for wear, typically at 1/10-1/5 of the product tolerance, to extend the mold’s effective service life.
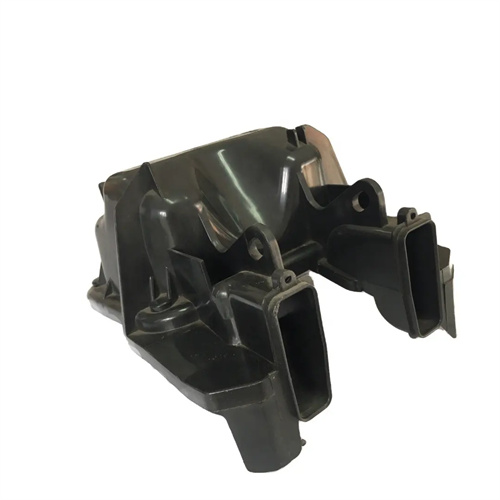
Calculation of complex mold dimensions requires segmentation based on structural characteristics. Dimensions with slopes and arcs must first be broken down into linear and angular dimensions for separate calculations. Calculation of slope dimensions requires considering the dual effects of shrinkage on both bevel length and height. For example, for a part with a 50mm bevel and a 30° bevel angle, when calculating mold dimensions, the bevel length must first be calculated based on the linear dimensions (50 × 1.02 = 50.1mm). Then, the bevel angle accuracy (±0.5°) must be ensured to ensure accurate bevel position after molding. Calculation of arc dimensions is based on radius: mold radius = part radius × (1 + average shrinkage). Central angle tolerances must also be maintained to avoid arc length deviations due to angular deviations. For mold dimensions with threads, in addition to calculating the mold dimensions for the major and minor thread diameters, shrinkage of the thread pitch must also be considered. The pitch error must be controlled within ±0.02mm to ensure a smooth thread fit.
Correction and verification of mold dimensional calculations are crucial for ensuring accuracy. Calculations must be adjusted based on mold trial data. During mold trials, the deviation between the actual part dimensions and the designed dimensions is measured. If the deviation is significant, the shrinkage rate must be recalculated and, if necessary, repeated mold trials must be performed to determine the actual shrinkage rate. For example, if, after mold trials, the part dimensions are found to be 0.5mm smaller than the designed dimensions (the original calculated shrinkage rate was 2%), and the actual shrinkage rate is 2.5%, the mold dimensions must be recalculated and corrected to 2.5%. For plastics that are significantly affected by temperature (such as PC and PMMA), the effect of ambient operating temperature on dimensions must also be considered, and appropriate temperature compensation must be accommodated in the calculations. By combining theoretical calculations with practical verification, the accuracy of injection molding dimensions can be guaranteed, meeting the requirements for product assembly and use.
